 English
 Français
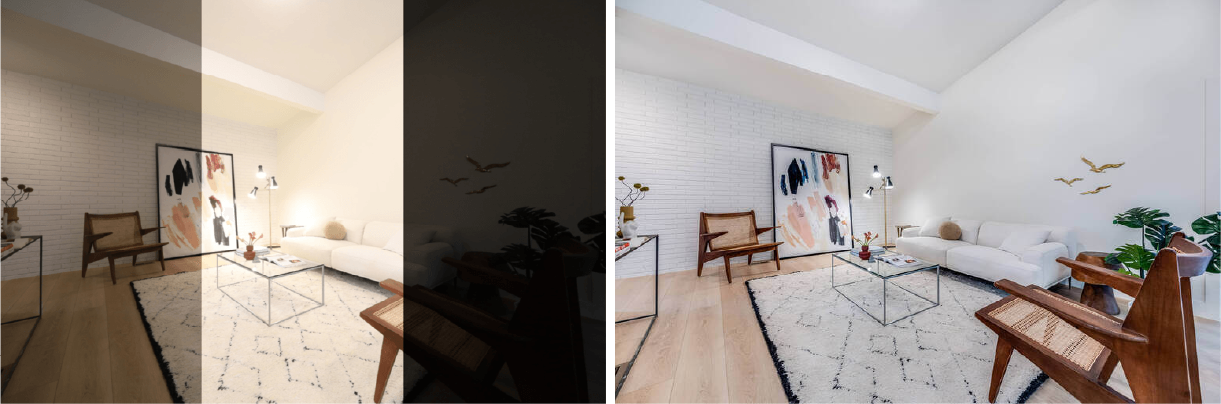
AE Bracketing—short for Automatic Exposure Bracketing—is one of the most powerful features your camera offers, especially if you’ve ever struggled with harsh lighting or unpredictable exposure. Instead of relying on a single shot that might be too bright or too dark, AE Bracketing captures multiple photos at different exposure levels, ensuring you never miss important details in shadows or highlights.
For beginners, mastering AE Bracketing is a game-changer. Whether you’re shooting landscapes at sunrise, interiors with bright windows, or even portraits in tricky light, this technique guarantees a more balanced result. It’s also the foundation for creating stunning HDR (High Dynamic Range) images.
However, capturing bracketed shots is only half the job. The real challenge—and time sink—often comes during editing. If you’re a real estate photographer juggling hundreds of AEB images per property, merging and retouching each sequence can feel overwhelming. That’s where WeFixPix comes in. Our professional HDR editing services transform your bracketed shots into natural, vibrant images quickly and consistently—helping you save time and focus on growing your business.
In this guide, we’ll cover everything beginners need to know about AE Bracketing: how it works, how to set it up, the common mistakes to avoid, and pro tips to get the best results.
What is AE Bracketing and How Does It Work?
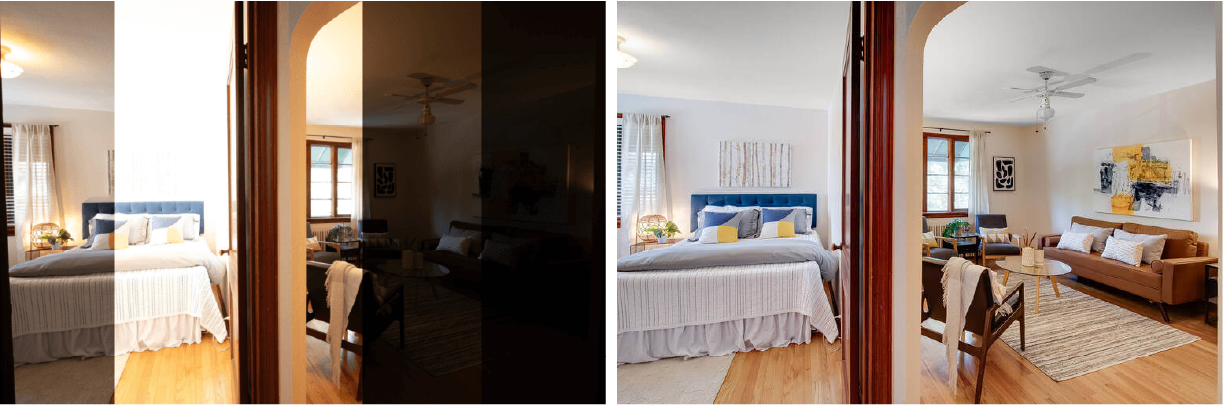
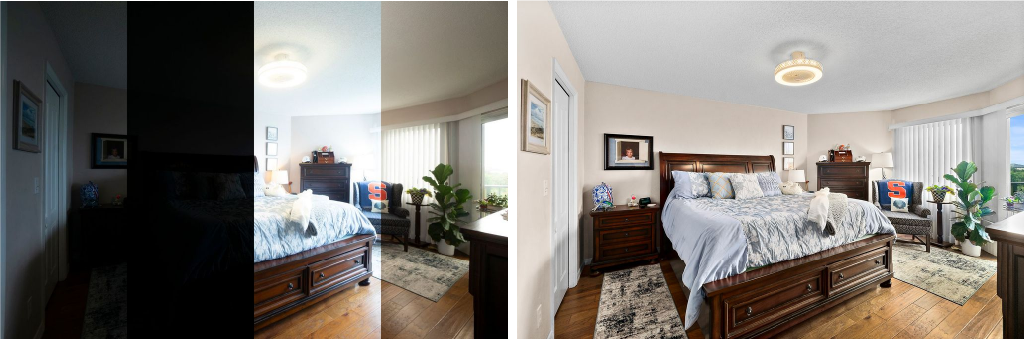
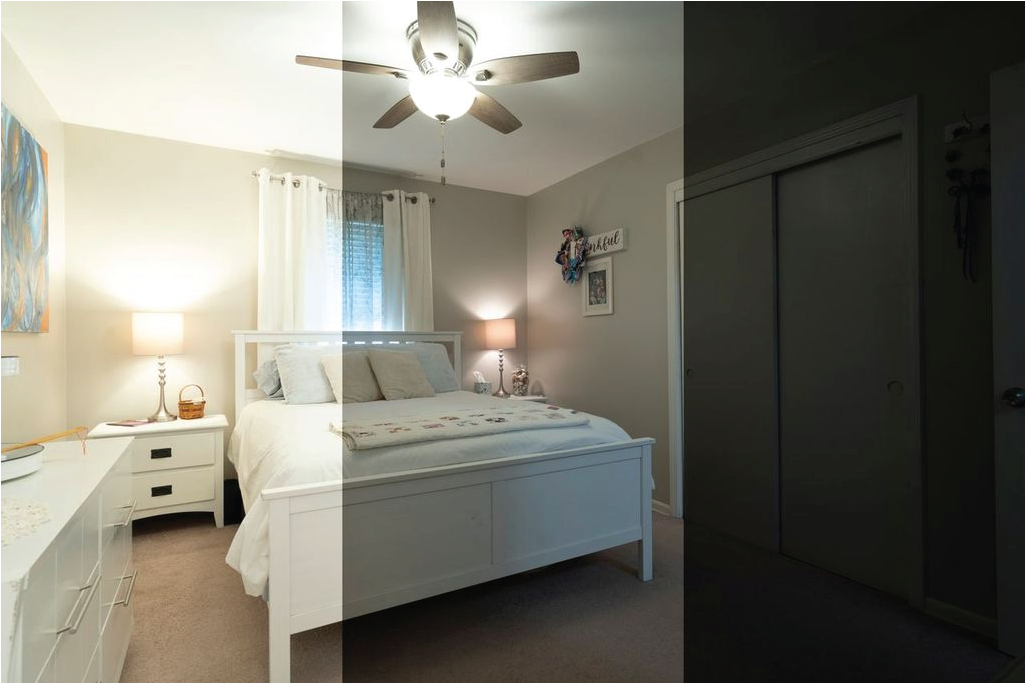
AE Bracketing (Automatic Exposure Bracketing) is a camera feature designed to capture a series of images at different exposure levels—usually one underexposed, one correctly exposed, and one overexposed. Instead of taking just one photo and hoping for the best, AEB ensures you have multiple versions of the same scene to work with. This is especially useful in high-contrast lighting conditions, where a single shot might either blow out bright highlights or lose details in the shadows.
Here’s how it works in simple steps:
-
-
Multiple Exposures: When you enable AE Bracketing, your camera automatically takes 3, 5, or even 7 shots with varying brightness.
-
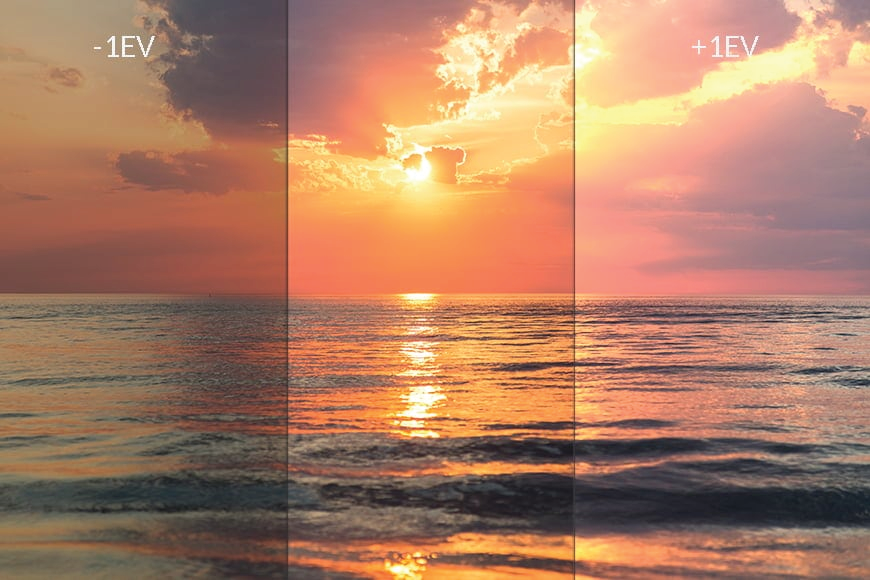
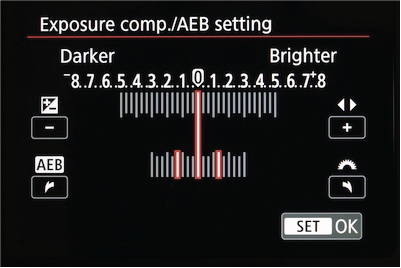
Exposure Values (EV): These differences are measured in “stops” (EV). For example:
-
Normal exposure (0 EV) captures midtones.
-
Underexposed (-1 or -2 EV) preserves details in bright areas, like sunny windows.
-
Overexposed (+1 or +2 EV) brings out details in shadows.
-
-
The Goal: To capture the full dynamic range of a scene—something the human eye sees naturally, but a camera sensor can’t in a single shot.
-
This technique is the backbone of HDR photography, where these bracketed images are later merged into one perfectly balanced photo.
Want to dive deeper into HDR and real estate photography? Check out these related guides:
-
What Is HDR Photography and Why It’s Essential for Real Estate – Understand why HDR is a must-have for modern property listings.
-
How to Create Perfect HDR Real Estate Photos for Ads – A step-by-step guide to capturing and editing HDR shots for maximum impact.
-
Auto Exposure Bracketing: The Key to Stunning Real Estate Photos – Learn why AEB is the foundation for professional real estate photography.
Why Use AE Bracketing?
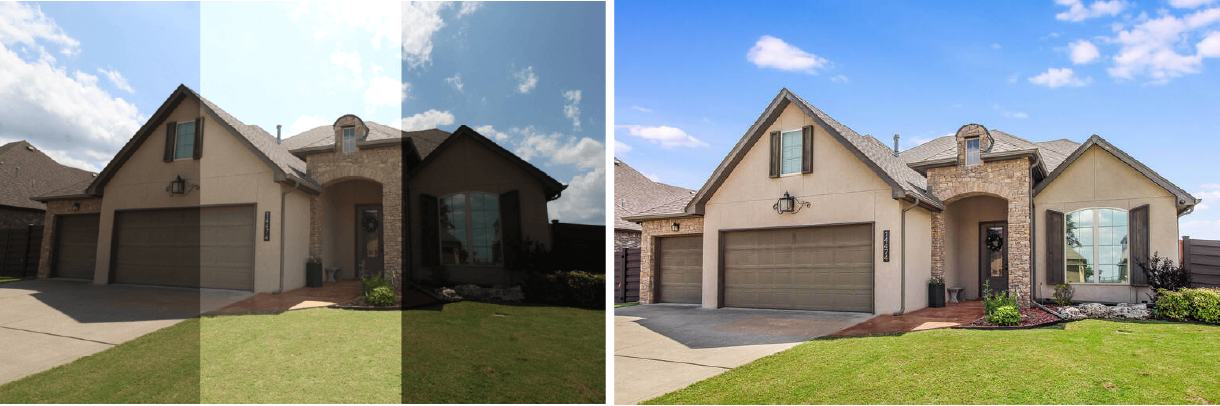
If you’ve ever taken a photo where the sky looked perfect but the subject was lost in shadows—or vice versa—you’ve faced the dynamic range problem. A single exposure often can’t capture both bright highlights and dark details. That’s where AE Bracketing shines.
Here are the top reasons photographers use AE Bracketing:
1. Handles High-Contrast Lighting
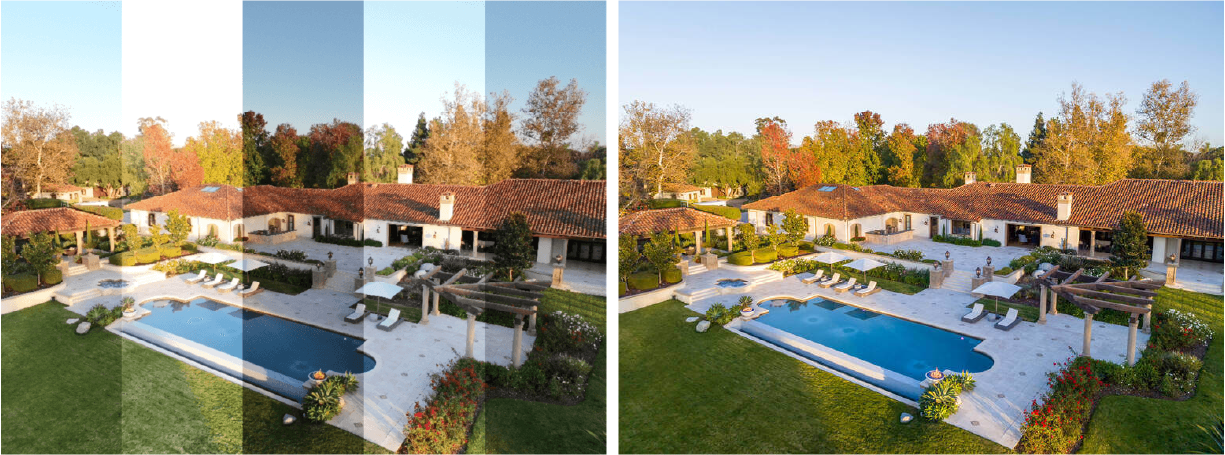
Outdoor landscapes during sunrise or sunset, interiors with bright windows, or scenes with harsh shadows—all create lighting extremes. AE Bracketing captures multiple exposures so you can merge them later into a single, balanced image.
2. Preserves Details in Highlights and Shadows
When you rely on just one exposure, details often disappear in bright skies or dark corners. AEB ensures every texture and color is recorded, giving you flexibility during editing.
3. Creates a Base for HDR Photography
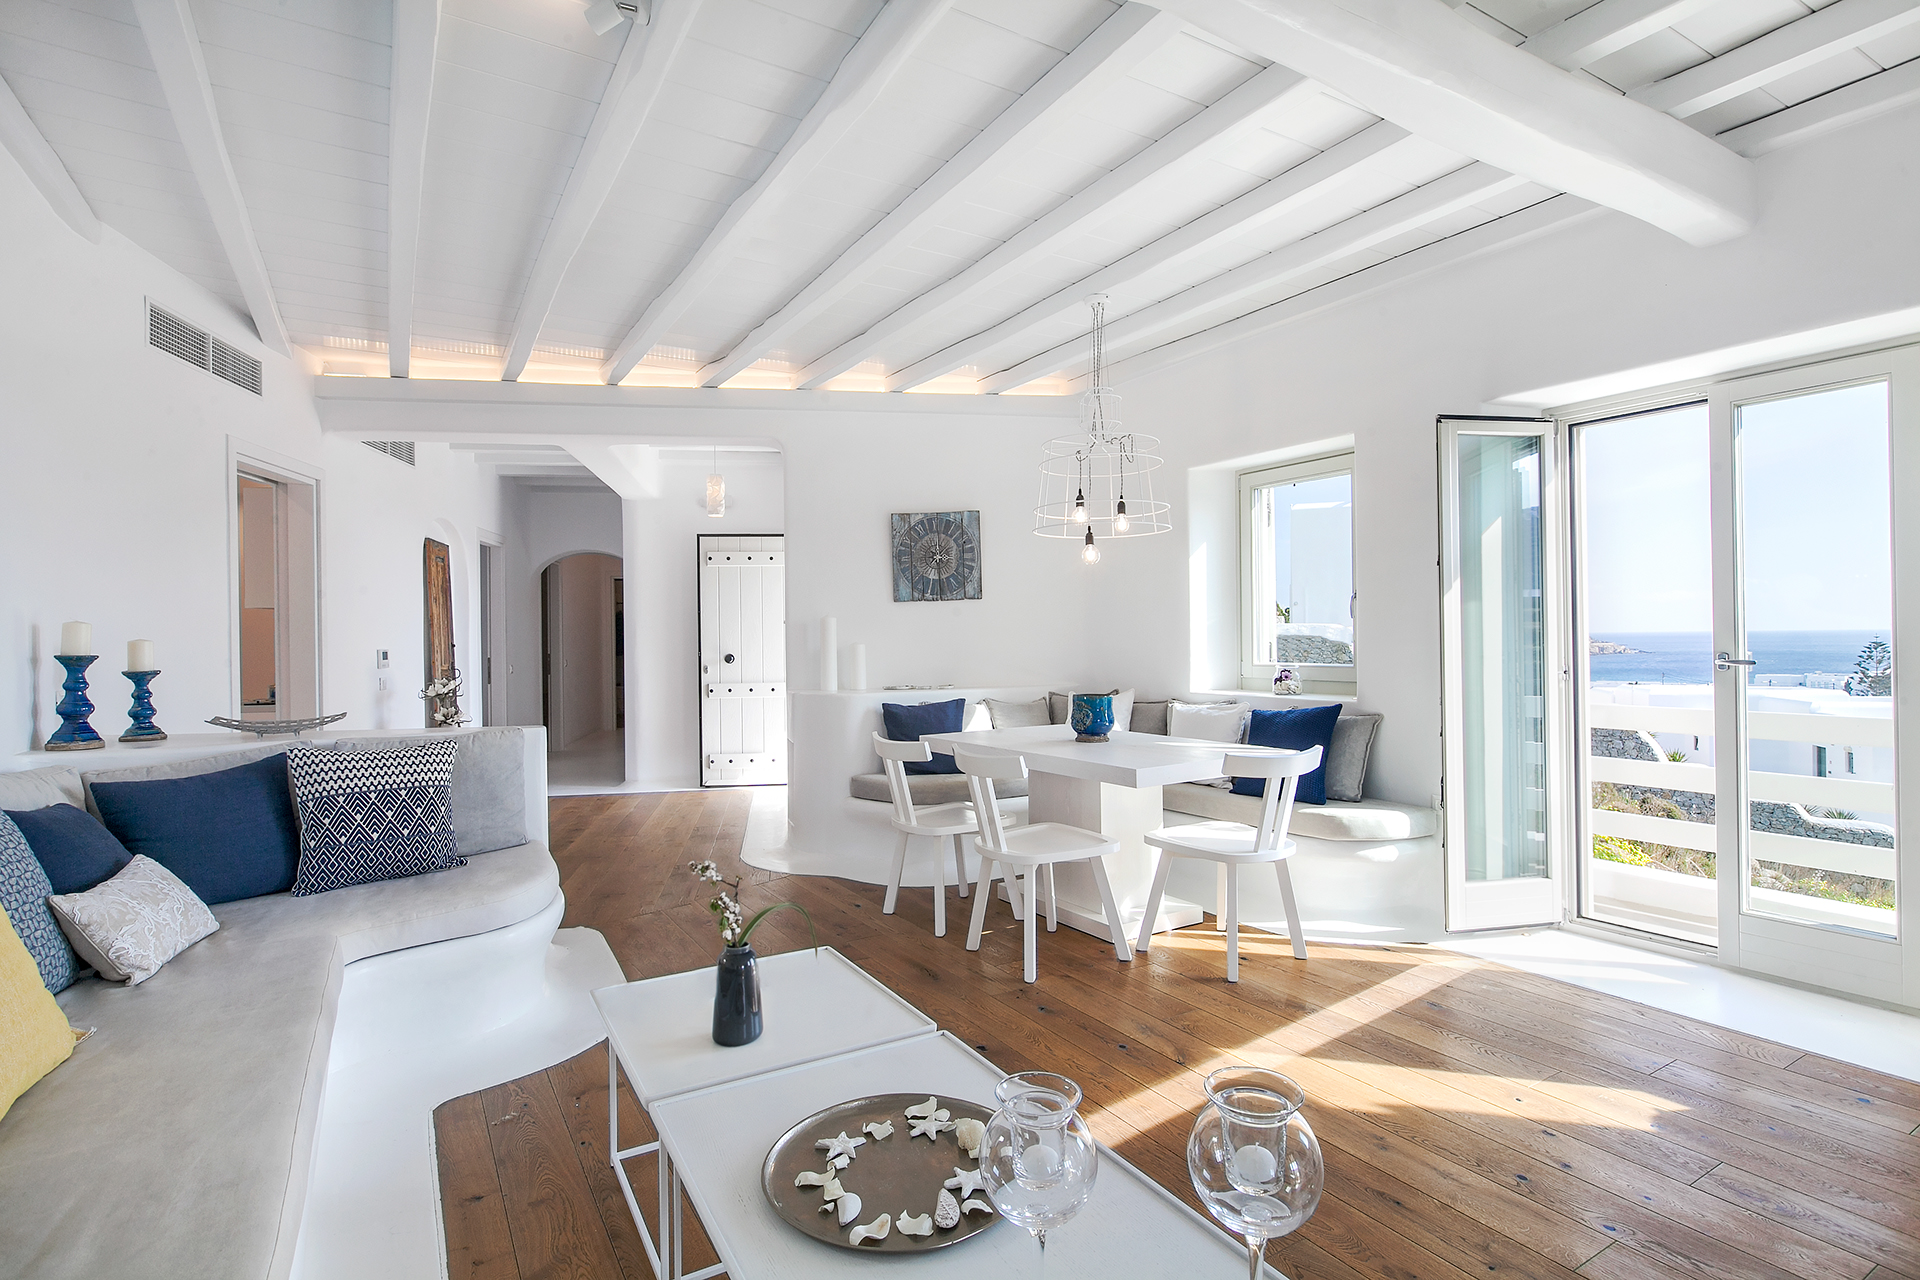
HDR (High Dynamic Range) photography relies on bracketed shots. By combining these exposures, you can produce realistic images that mimic what the human eye naturally sees. This is essential for real estate photography, where rooms often have mixed lighting from windows and lamps.
Pro Tip: While AE Bracketing gives you options, editing those shots is what makes the magic happen. For real estate professionals who need consistent, natural HDR photos in bulk, manual editing can take hours per property.
This is where WeFixPix helps: We blend your bracketed shots into flawless, market-ready HDR images—fast, affordable, and scalable.
How to Set Up AE Bracketing on Your Camera
Setting up AE Bracketing might sound technical, but it’s easier than you think. Most modern DSLRs, mirrorless cameras, and even some smartphones include an Auto Exposure Bracketing (AEB) option. Follow these steps to get started:
1. Enable AEB Mode
-
Go to your camera’s shooting menu and look for Auto Exposure Bracketing (or simply “Bracketing”).
-
On Canon, Nikon, Sony, Fujifilm, or Olympus, this feature is often found under Exposure settings.
2. Choose the Number of Shots
-
Common options: 3-shot (default) or 5-shot bracketing.
-
For beginners, 3 shots at -2 EV, 0 EV, and +2 EV is a solid start.
-
For challenging lighting (e.g., real estate interiors), go for 5 or 7 shots for maximum dynamic range.
3. Set the Exposure Range (EV)
-
Start with ±2 EV for strong contrast scenes (like windows and shadows).
-
Use ±1 EV for evenly lit spaces.
4. Lock Key Settings
-
Aperture: Use Aperture Priority mode (f/8 to f/11 for sharpness).
-
ISO: Set to 100 or the lowest native ISO for clean images.
-
White Balance: Switch to manual to keep color consistent across shots.
5. Stabilize Your Camera
-
Always use a sturdy tripod to avoid misalignment.
-
Use a remote shutter or 2-second timer to prevent shake during multiple shots.
Recommended Beginner Setup
-
Shooting Mode: Aperture Priority (Av/A mode)
-
Aperture: f/8 – f/11
-
ISO: 100
-
Bracketing: 3 shots at ±2 EV
-
File Type: RAW for maximum editing flexibility
Pro Workflow Tip:
Capturing the shots is just step one. If you’re a real estate photographer managing hundreds of AEB sequences, manually merging them into HDR photos can be exhausting. WeFixPix takes the hassle out of editing: Upload your bracketed shots, and our team will deliver polished, natural HDR photos—ready for MLS or advertising—within 24 hours.
Once you’ve captured your bracketed images, it’s time to avoid the most common beginner pitfalls. In the next section, we’ll cover mistakes to avoid and how to fix them like a pro.
Common Mistakes Beginners Make (and How to Avoid Them)
Even though AE Bracketing is beginner-friendly, a few common mistakes can lead to disappointing results. Here’s what to watch out for—and how to fix them:
1. Forgetting to Turn Off Auto ISO
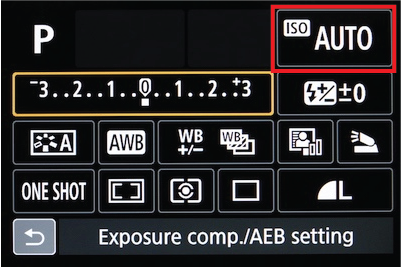
Problem: If Auto ISO is enabled, the camera may change ISO between bracketed shots, making exposures inconsistent.
Fix: Set ISO manually (preferably at 100) to keep all images aligned in terms of noise and color.
2. Choosing the Wrong EV Range
Problem: Using too narrow a range (e.g., ±0.3 EV) won’t capture enough detail in bright highlights or deep shadows.
Fix: For high-contrast scenes (like interiors with windows), start with ±2 EV. For moderate contrast, ±1 EV is fine.
3. Shooting JPEG Instead of RAW
Problem: JPEG files compress image data, limiting your ability to recover details in editing.
Fix: Always shoot RAW for maximum flexibility and better HDR blending results.
4. Camera Shake and Ghosting
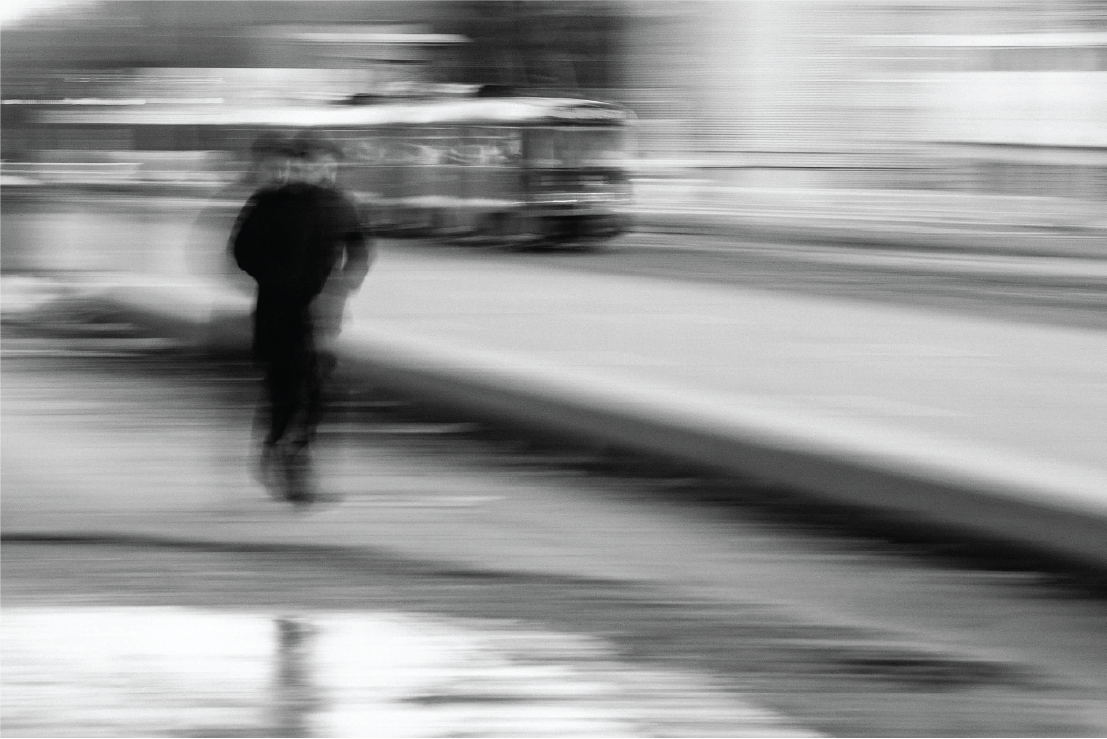
Problem: Slight movement between exposures can cause ghosting (double images) when merging photos.
Fix: Use a tripod, a remote shutter release, or the 2-second timer to keep your shots aligned.
5. Overprocessing HDR
Problem: Beginners often go too far with tone mapping, creating unrealistic, “cartoonish” images.
Fix: Keep edits subtle. The goal is to mimic what the human eye sees—balanced light, natural colors, and sharp details.
Shortcut for Busy Photographers:
If editing and de-ghosting every shot feels overwhelming, let the pros handle it. WeFixPix specializes in natural HDR editing from AE Bracketing sequences, ensuring realistic results with perfect alignment, balanced lighting, and zero halos. Whether it’s 10 photos or 1,000, we deliver in under 24 hours—so you can focus on shooting, not post-processing.
Pro Tips for Perfect AE Bracketing
Once you’ve mastered the basics, these pro tips will help you get the most out of AE Bracketing and ensure your shots are ready for flawless HDR editing.
1. Combine AEB with Burst Mode
Enable Continuous Shooting (Burst Mode) so your camera captures bracketed exposures in quick succession. This minimizes the risk of movement between frames—critical for outdoor shoots or interiors with moving curtains.
2. Use a Remote Shutter or Timer
Even slight vibrations from pressing the shutter button can cause misalignment. A remote trigger or 2-second timer eliminates this problem and ensures sharper results.
3. Lock Your White Balance
Leaving white balance on Auto can cause color shifts between bracketed shots, making blending harder. Set it manually to keep tones consistent.
4. Review Histograms After Shooting
Check that your sequence covers the full range of tones:
-
No extreme clipping in highlights (right side of the histogram).
-
Shadows preserved on the left side.
If necessary, adjust your EV range and shoot again.
5. Keep Aperture Consistent
Changing aperture between shots can alter depth of field, leading to focus inconsistencies. Use Aperture Priority or Manual Mode to keep it fixed.
6. Batch Shooting for Efficiency
When photographing multiple rooms or properties, save your AE Bracketing settings as a custom preset on your camera. This speeds up workflow and ensures consistency.
Pro Workflow Shortcut:
If you’re capturing hundreds of AE Bracketing sequences for real estate or commercial work, editing can eat up hours (or days). WeFixPix handles bulk HDR merging and retouching with professional precision—color correction, de-ghosting, perspective fixes—delivering ready-to-publish photos within 24 hours. Perfect for busy photographers who want speed without compromising quality.
How to Edit AE Bracketing Shots for Best Results
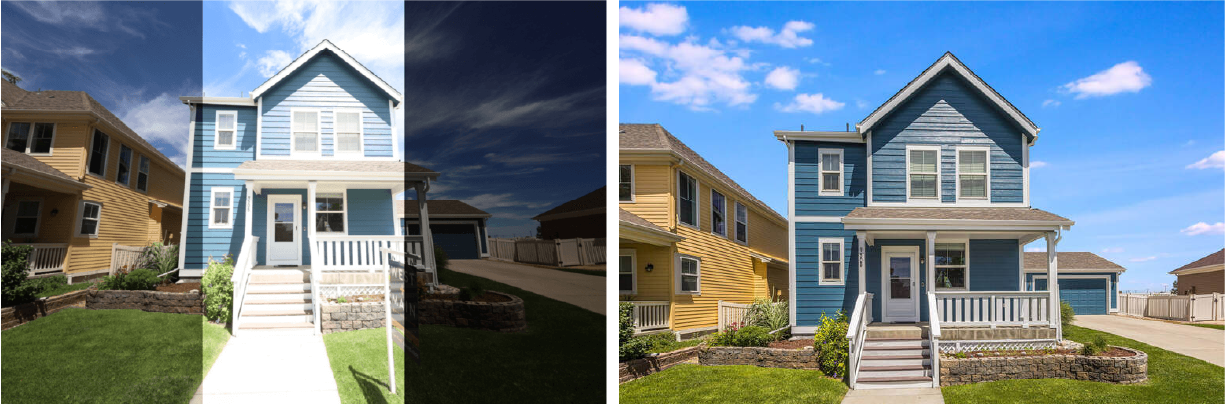
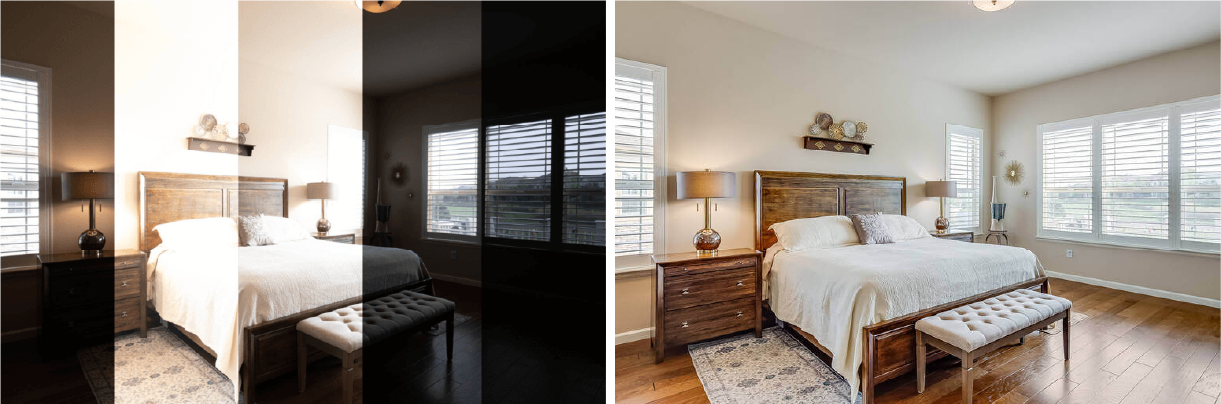
Capturing bracketed shots is only half the story—the real magic happens in post-processing. Editing AE Bracketing sequences transforms your multiple exposures into a single, balanced image that showcases every detail, from bright highlights to deep shadows.
Here’s how to do it:
1. Import and Align Your Shots
-
Use software like Adobe Lightroom, Photoshop, Photomatix, or Aurora HDR.
-
Import your bracketed sequence and auto-align the images to correct any minor camera movement.
-
Enable ghost removal to handle moving objects like trees, curtains, or people.
2. Merge Exposures into HDR
-
Most editing software has an HDR merge function that blends your underexposed, correctly exposed, and overexposed shots into one image.
-
Choose “natural” presets over aggressive HDR styles to keep photos realistic.
3. Tone Mapping for Realism
-
Adjust highlights and shadows to balance light across the scene.
-
Increase local contrast slightly to prevent a flat look, but avoid overdoing it—oversaturated HDR looks unnatural.
4. Fine-Tune White Balance and Colors
-
Correct color temperature for consistency across the photo.
-
Remove color casts from mixed lighting (e.g., daylight and warm bulbs).
5. Reduce Noise and Sharpen Details
-
HDR merging can increase noise in shadows—apply selective noise reduction.
-
Sharpen important elements like textures, fixtures, or furniture for clarity.
6. Export for Your Purpose
-
For web or MLS listings: 2048×1365 px, 72 DPI.
-
For print: 4000×2666 px, 300 DPI.
-
Save in JPEG, sRGB color space for compatibility.
Pro Time-Saver:
Editing AE Bracketing sequences manually can take 10–15 minutes per photo set—and that’s if you know the software well. For photographers handling hundreds of real estate images, this adds up fast.
Why AE Bracketing is Worth Mastering
AE Bracketing is more than just a technical feature—it’s a creative tool that helps beginners capture images with incredible detail and balance, even in challenging lighting conditions. By taking multiple exposures, you give yourself options and flexibility, ensuring no moment or detail is lost to poor exposure.
Whether you’re shooting landscapes, interiors, or real estate listings, AE Bracketing is the foundation of professional-quality photography. Mastering it means saying goodbye to blown-out skies and muddy shadows—and hello to photos that truly reflect what the human eye sees.
But let’s be real: while shooting bracketed images is straightforward, editing them into stunning HDR photos can be time-consuming and technical—especially when dealing with large batches for real estate or commercial projects. That’s where having a trusted partner makes all the difference.
Let WeFixPix Handle the Hard Part
-
Fast Turnaround: HDR edits delivered in under 24 hours.
-
Consistent Quality: Natural-looking, magazine-ready photos every time.
-
Scalable Solutions: From 10 photos to thousands—perfect for busy photographers and agencies.
-
Affordable Pricing: Starting at just $1.50 per photo.

Ready to save time and impress clients with photos that sell? Get Your Free HDR Editing Sample from WeFixPix Today!